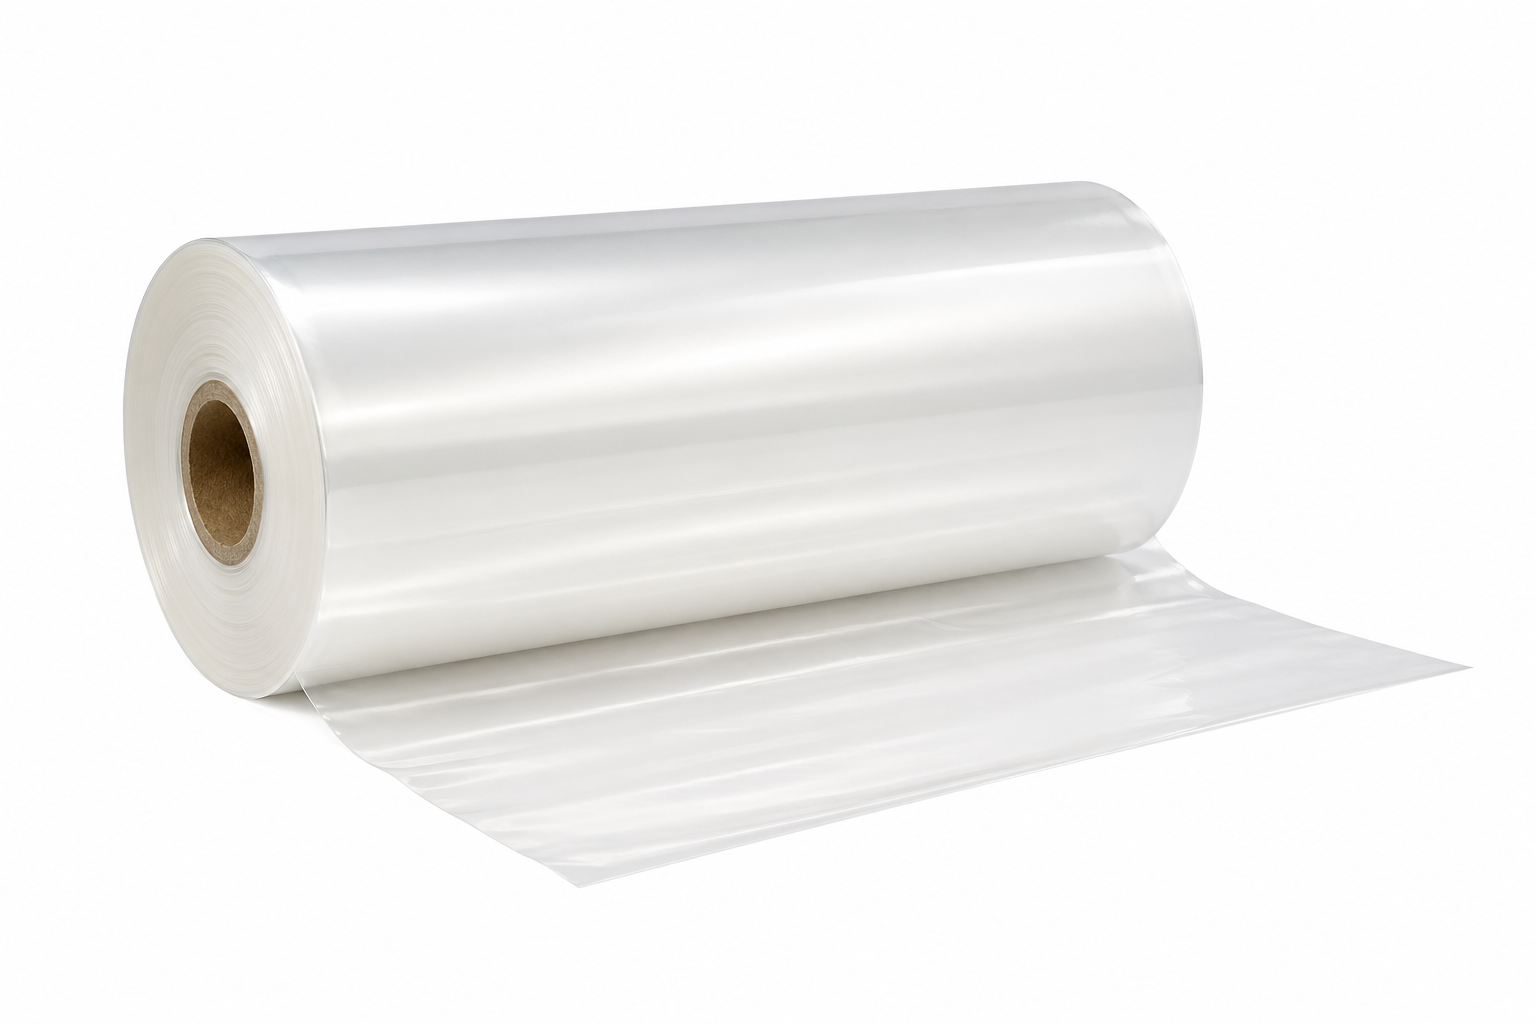
Wrinkled edges, film that refuses to pull tight, burn-through on a corner that was never going to cooperate — if your line runs irregular shapes, you already know the frustration. Flat boxes are forgiving. The moment a product has a recess, a sharp protrusion, or an asymmetric profile, the heat that worked fine on yesterday's job starts causing problems today. Getting consistent results with POF Shrink Film on complex shapes is not just about dialing in a number. It comes down to understanding how geometry changes the way heat moves through a tunnel, and knowing which levers to pull when things go wrong.
The Temperature Range That Actually Works for Irregular Products
There is no single correct temperature for shrink wrapping irregular products, and anyone who tells you otherwise has probably not run many complex shapes. The operating range for this film type spans from a threshold suited to thin gauges in stable environments all the way up to settings needed for heavier gauges or fast-moving lines. For irregular work, starting in the middle portion of that range tends to give enough heat to activate the film without creating the localized overheating that shows up on corners and edges.
What actually moves that number around day to day:
- Film thickness: Thin gauges respond quickly and at lower heat. Heavier gauges need more energy to reach full shrink, so the dial goes up.
- Product density: A dense solid product holds heat near its surface differently than a hollow shell. That changes how the film reacts in contact zones.
- Dwell time in the tunnel: A slower belt or a longer tunnel adds heat exposure time, which means you can often run a lower temperature and still get a clean result.
- Workshop temperature: Running in a cold facility means the film loses heat faster on its way through. A small upward adjustment compensates for that.
Think of the temperature setting as a starting estimate rather than a fixed specification. The actual sweet spot on any given product depends on how these factors combine on that day, on that line.
Why Irregular Shapes Make Shrink Wrapping Harder
The core problem is straightforward: irregular surfaces create uneven heat exposure. On a rectangular box, every section of film enters and exits the tunnel with roughly the same amount of heat contact. On a product with protrusions, cavities, or angled surfaces, some areas get cooked while others barely warm up.
Specific geometry problems and what they do to the film:
- Protruding corners and edges act as heat collectors. They receive concentrated exposure before the surrounding film has had time to shrink, which leads to burn-through or puncture.
- Recesses and cavities do the opposite — they trap cool air, leaving those sections under-shrunk and loose even when the rest of the package looks fine.
- Asymmetric shapes pull the film unevenly during shrink. One side tightens before the other, which creates the dog-ear folds that are hard to eliminate without addressing the root cause.
- Hollow interiors allow air to circulate inside the package as it heats up, which pushes against the film from inside and causes bubbles or fish-eye spots.
Knowing which of these problems applies to your product immediately narrows down what needs to change. Guessing at temperature when the real issue is geometry wastes time.
Reading Defects: What the Film Is Telling You
When a shrink result looks wrong, the defect pattern usually points back to a specific cause. The table below maps common problems to their likely origins and what direction to adjust.
| Defect |
Appearance |
Likely Cause |
Where to Start |
| Wrinkles |
Uneven folds across the surface |
Heat too low or uneven airflow |
Raise temperature slightly, check airflow balance |
| Burn holes |
Melted punctures, typically on edges |
Heat too high at that section |
Lower temperature or run belt faster |
| Loose film |
Film present but not conforming |
Not enough heat or dwell time |
Raise temperature or slow the belt |
| Dog ears |
Triangular folds at corners |
Uneven film tension during shrink |
Adjust airflow direction, try pre-perforating film |
| Bubbles or fish eyes |
Air trapped under film |
Poor venting during sealing |
Add micro-perforations before sealing |
| Cloudy or hazy finish |
Film surface looks degraded |
Temperature too high for film grade |
Lower temperature, check film spec |
The value of this kind of diagnostic thinking is that it stops you from making random adjustments. Each defect has a direction — once you read it correctly, the next step becomes clearer.
Airflow Matters More Than People Expect
Here is something that often gets overlooked: temperature is only part of the equation. On irregular products especially, how the hot air moves inside the tunnel can matter just as much as the number on the controller.
A few things worth paying attention to:
- Even circulation: If airflow is unbalanced across the tunnel cross-section, you will get hot patches and cold patches regardless of what the temperature reads. That unevenness shows up directly in the shrink result.
- Velocity: Air moving too hard can shift the film before it has settled onto the product surface. Backing off the airflow speed a little lets the film land and bond before it gets pushed around.
- Belt speed and dwell time: Slowing the belt adds heat exposure time without touching the temperature setting. For tricky shapes, this is often a cleaner adjustment than cranking up the heat — it gives the whole surface time to respond rather than forcing it.
- Zone control: If your tunnel has multiple heating zones, take advantage of it. Running a gentler heat profile at entry and slightly higher toward the exit gives irregular shapes time to warm up gradually before the film commits to its final position.
A gradual ramp through the tunnel is simply easier on complex geometry than hitting it with full heat from the moment it enters.
Does the Film Itself Change the Picture?
It does, and this is where a lot of troubleshooting time gets lost. When the film grade does not match the product, no amount of temperature adjustment fully resolves the problem.
What to think about when choosing film for irregular products:
- Gauge: Lighter gauges work well for products with gentle contours and modest weight. Sharper protrusions and heavier items need a heavier gauge that can handle the mechanical stress of shrinking around edges without splitting.
- Shrink ratio: A higher shrink ratio film can accommodate bigger differences across an irregular surface — useful when one part of the product needs to shrink significantly more than another.
- Cross-linked variants: These tend to shrink at a steadier rate and resist puncture better at lower temperatures. For products with stress concentration points — tight corners, sharp edges — this often produces a cleaner result than standard film at higher heat.
- Clarity: If the finished look matters, higher-clarity grades are less forgiving of temperature variation. Even a small amount of overheating shows up as haze, so the process window gets tighter.
Getting the film specification right before trying to optimize the process parameters saves a lot of iterative adjustment time.
Setting Up the Line: A Practical Sequence
A consistent setup routine takes the guesswork out of getting a new product running. Rather than starting wherever the previous job left off, walk through this sequence:
- Start conservatively on temperature. Pick the lower portion of the operating range for your film gauge. It leaves room to move up without risking burn-through on the early pieces through.
- Set a moderate belt speed. Going slower initially gives you a clean read on how the film is behaving before you chase throughput.
- Run a sample piece and look at the whole surface. Pay attention to the sections you identified as geometrically tricky — corners, recesses, asymmetric faces.
- Match what you see to the defect table. Identify the issue before touching any settings.
- Adjust one variable at a time. Temperature or belt speed or airflow — not all three at once. One change per sample run keeps the diagnosis clean.
- Once the shrink quality is where you want it, try bringing the belt speed up slightly. See whether throughput can increase without the result degrading.
- Write down what worked. Temperature zone settings, belt speed, airflow position. The next operator running the same product should not have to start from scratch.
Small Production Habits That Make a Real Difference
Some of the improvements that matter on irregular products do not require touching the equipment settings at all.
Worth building into the routine:
- Give the film room to move. Wrapping too tightly around the product before sealing leaves the film with nowhere to go during shrink. A little extra clearance lets it conform properly rather than fighting the surface.
- Pre-perforate when air trapping is likely. If the product shape creates a sealed air pocket during the sealing step, that air has to go somewhere during shrink. Small venting holes let it escape cleanly.
- Think about product orientation. Sharp points and corners positioned away from direct airflow sources get a slightly gentler heat hit at the critical moment. It is a small thing, but it helps.
- Use staged exposure rather than brute heat. Running the belt slower to extend dwell time is gentler on tricky geometry than pushing the temperature up to compensate for speed.
- Check your tunnel seals. Worn or loose seals let heat escape, creating cold zones that will show up as under-shrunk patches. The control panel can read correctly while the tunnel is losing heat at the edges.
Adjusting Settings vs. Changing the Film: How to Tell the Difference
Not every shrink problem is a process problem. Some products are simply running on the wrong film, and no temperature adjustment will fix that.
The pattern that suggests a process fix will work:
- Defects are concentrated on one side or one section of the product, suggesting uneven heat rather than a fundamental incompatibility
- Similar products run cleanly on the same line with small adjustments
- The issue tracks with identifiable airflow zones in the tunnel
The pattern that suggests the film needs to change:
- Fixing one defect through temperature adjustment creates a different defect somewhere else — a sign the film grade is not suited to the application
- Burn-through is happening at temperatures that still leave other sections of the product under-shrunk
- The film splits or punctures on protruding sections regardless of how the settings are dialed
Separating these two scenarios early prevents the frustrating loop of making process adjustments that cannot address a material mismatch.
What Your Equipment Is Actually Doing
The shrink tunnel itself is worth looking at closely, not just the settings on the controller. Two tunnels set to the same temperature can produce quite different results depending on their design and condition.
Things that affect how heat actually reaches the product:
- Tunnel type: Hot air tunnels with adjustable airflow handle irregular shapes with more flexibility than infrared systems, which send radiant heat in straight lines and cannot reach into recesses.
- Clearance inside the tunnel: If the product nearly fills the tunnel cross-section, heat cannot circulate around it properly and concentrates on one face. Adequate space around the product allows the heat to wrap around it.
- Airflow direction inside the tunnel: Nozzle and duct placement determines where hot air actually goes. A well-designed tunnel distributes it evenly. A poorly designed or worn one creates zones.
- Sensor accuracy: A temperature reading on the display is only as reliable as the sensor behind it. Sensors drift. Residue builds up. What the controller shows and what the product actually experiences can diverge over time, so periodic calibration is worth doing.
Running a reliable line on irregular products starts with knowing whether the equipment is performing as expected, not just as indicated.
When Something Goes Wrong: A Diagnostic Sequence
Shrink problems on irregular products rarely have a single obvious cause. Working through a short sequence of checks gets to the answer faster than adjusting settings at random.
- Start with the defect pattern. Localized problems usually trace back to airflow or specific geometry. A defect that appears evenly across the whole surface points more toward temperature or dwell time.
- Before changing any settings, check the equipment. Worn seals, blocked nozzles, and drifting sensors all produce defects that look like process problems but will not respond to process adjustments.
- Change one thing and run a test piece. Resist the urge to adjust temperature, belt speed, and airflow at the same time — you will not know what actually worked.
- If process adjustments plateau without solving the problem, step back and evaluate the film. Some products need a different film grade, and that is a separate decision from the process setup.
Getting reliable results on irregular products takes a bit more patience at setup than running standard shapes, but the variables are manageable once you understand how they connect. Temperature is the starting point, not the whole answer — geometry, film grade, airflow, and equipment condition all shape what actually happens inside the tunnel. Work through them systematically and the result stabilizes. If you are working through a film selection question or running into a defect pattern that process adjustments are not resolving, Zhejiang Jiuteng Packaging Co., Ltd. can help match film specifications to your specific product and production conditions. Getting in touch with the details of what you are running and what you are seeing on the line is the quickest path to a solution that holds.


 简体中文
简体中文
 Home
Home